RapidIdentity MFA Windows Client Installation Procedure
Note
These are the instructions for the RapidIdentity MFA Windows Client Installation for those customers that still use it for 2FA. If you are looking for the RapidIdentity Windows Client that authenticates into our RapidIdentity product, here is the link for that documentation.
Important
.NET 3.5 Reminder
It is very important to verify that the .NET 3.5 Framework is installed prior to beginning the RapidIdentity MFA Windows Client installation process.
Important
Choosing the correct installation file
If the authenticating users use either the barcode or magstripe methods, it is necessary to select the RapidIdentity MFA Windows Client with Filter installation file.
If the user population is not using either barcode or magstripe methods, the RapidIdentity MFA Windows Client installation file is sufficient.
Follow these 10 steps to install RapidIdentity MFA Windows Client.
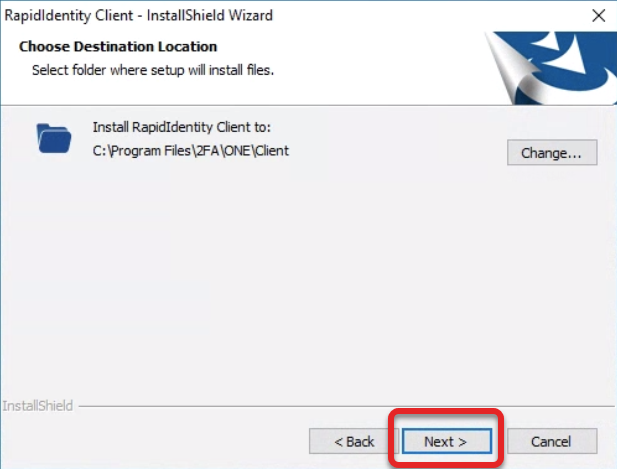
Navigate to a location or leave the default path to install RapidIdentity MFA Windows Client and click Next.
Right-click on the RapidIdentity MFA Windows Client executable, run as an administrator and click Yes to begin the installation process.
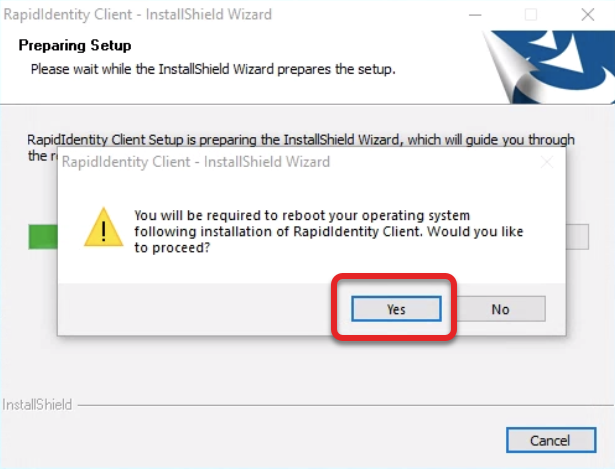
Warning
A reboot of the operating system will be required once the RapidIdentity MFA Client installation is completed.
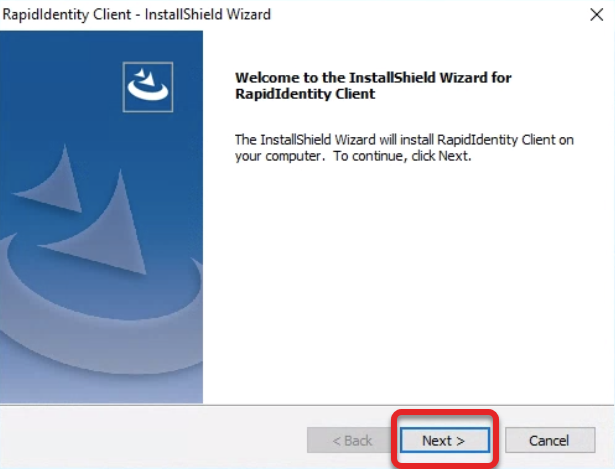
Click Next to begin the RapidIdentity MFA Client installation.
Accept the license agreement and click Next.

Select the appropriate installation for the organizational environment and click Next.
Standalone mode installations can be used for workstations that do not need to be synced with RapidIdentity Server such that authenticating users are not subjected to authentication methods or sets.
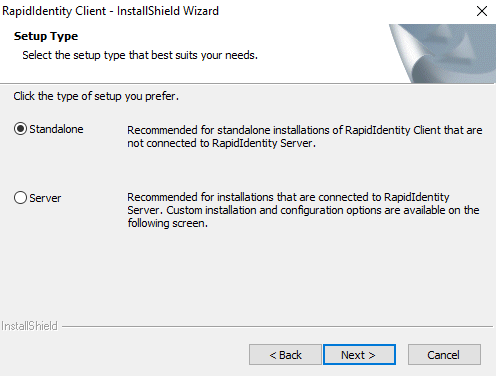
Server mode installations can be used for authenticating users that must match different authentication policies, such as more than one user logging into the same workstation where at least two different user groups exist (e.g. ordinary users and administrators).
Once selected, the Server URL field will become active to allow the URL to be entered.
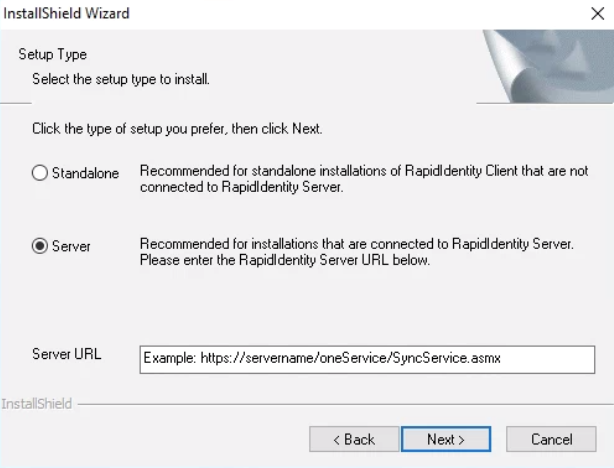
RapidIdentity Server URL: Enables administrators to configure the RapidIdentity Server synchronization URL during installation. If the Server URL is published to Active Directory and the client machine is online and logged into the domain, the installation process will auto-discover and populate the correct URL. If the URL is not auto-detected, manually enter the URL following the format provided. In most cases, only the correct server name is necessary. Once the Server URL is entered, the installer will validate that the RapidIdentity Server URL is valid. If online and the Server URL is entered incorrectly, the installation process presents a notification to revise. URL validation will fail if the system is not online. Once validated, the RapidIdentity MFA Windows Client installation will become “Activated” and no longer in Trial Mode. The RapidIdentity Server URL should be configured as http://<servername>/OneService/syncservice.asmx where <servername> is the Fully Qualified Domain Name.
Navigate to a location or leave the default path to install RapidIdentity MFA Windows Client and click Next.
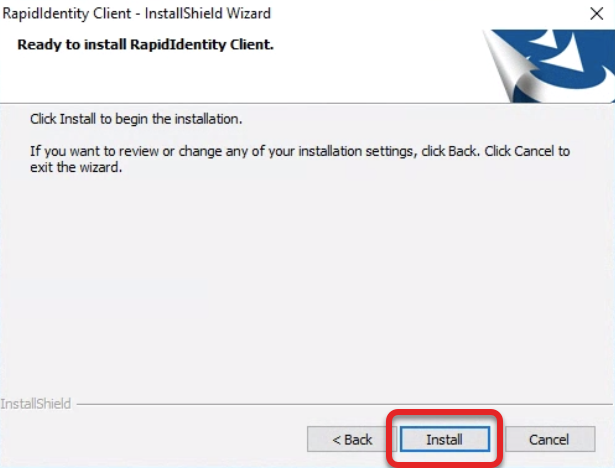
Click Install.
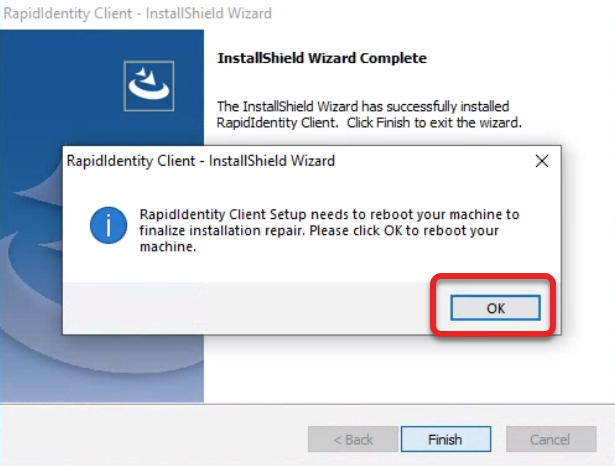
When the installation is complete click Finish and then click OK to reboot the operating system.
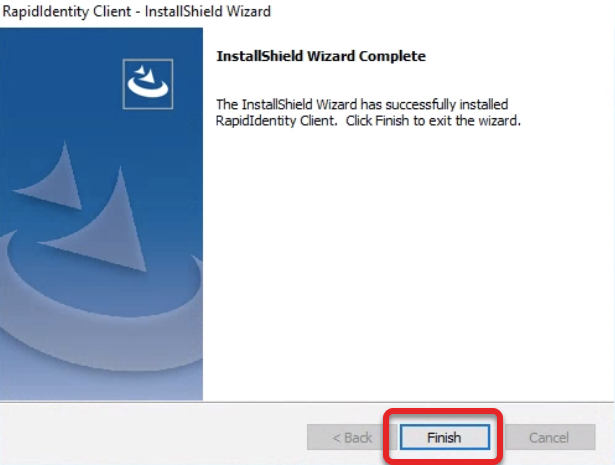
The RapidIdentity MFA Client has been installed. Click OK to begin the system reboot.
After authentication, two new icons appear on the desktop.