RapidIdentity Server Database Tables
Complete these steps to create the RapidIdentity Server Database tables.
On the RapidIdentity Server, open a browser and navigate to http://[servername]/One/install/build_cm_tables.aspx.
The server name is the name of the server instance created previously and the authentication credentials are those configured for that server instance.
The first attempt to access the newly created RapidIdentity Server may require more time than anticipated. This experience is normal. Once the RapidIdentity Server configuration sequence below is completed the access time should be faster.
After authentication, leave the SysAdmin Role Name, Username, and LDAP Unique Identifier as the default ONE_sys_admin – do not input a different Role Name, Username, or LDAP Unique Identifier.

Complete the password fields as shown and then click Build RapidIdentity.
A pop-up message will appear stating that all the data in the repository will be replaced with the default settings.
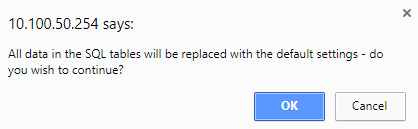
During the first RapidIdentity Server installation, click OK.
During subsequent RapidIdentity Server upgrades, click Cancel.
When the RapidIdentity Server tables are completed, a confirmation message appears.
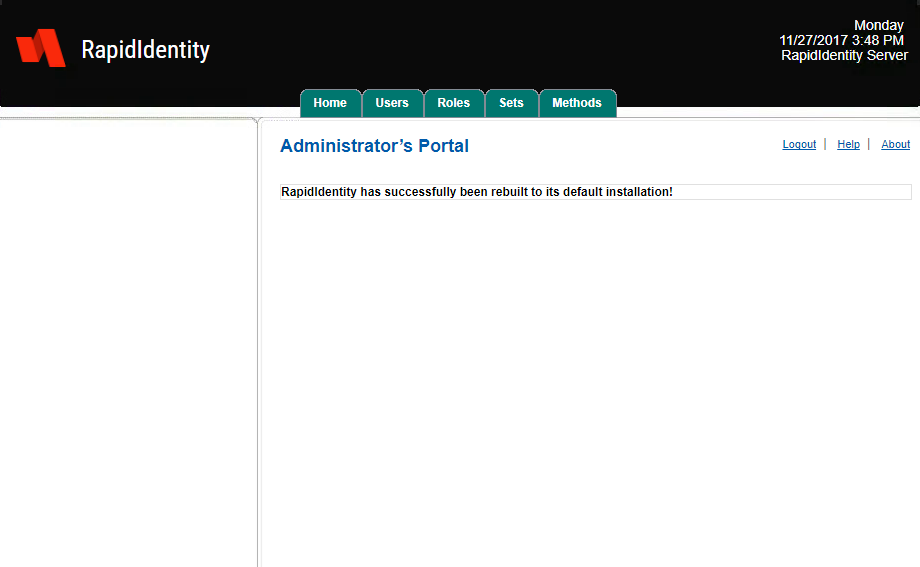
Click Home.
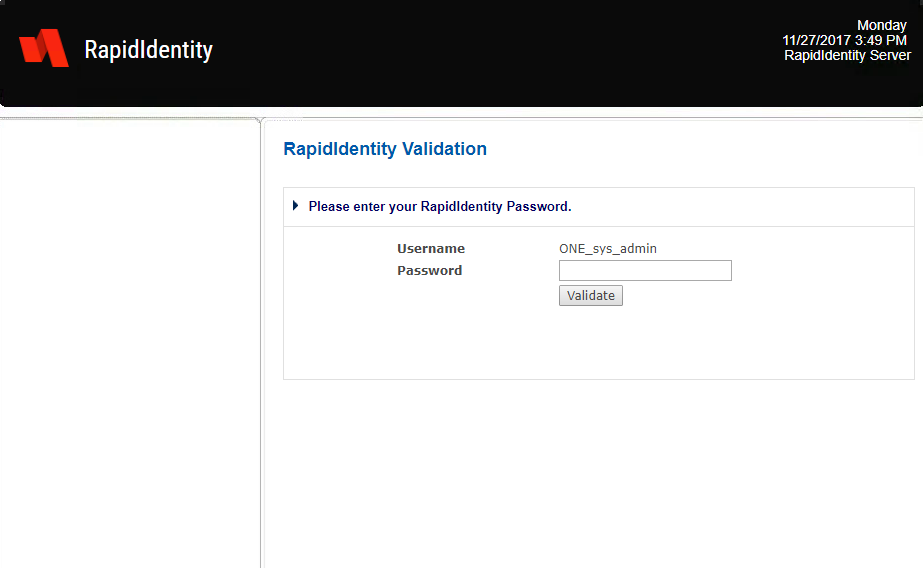
It is necessary to authenticate to RapidIdentity Server using the credentials created in Step 2. In the Username field, enter ONE_sys_admin.
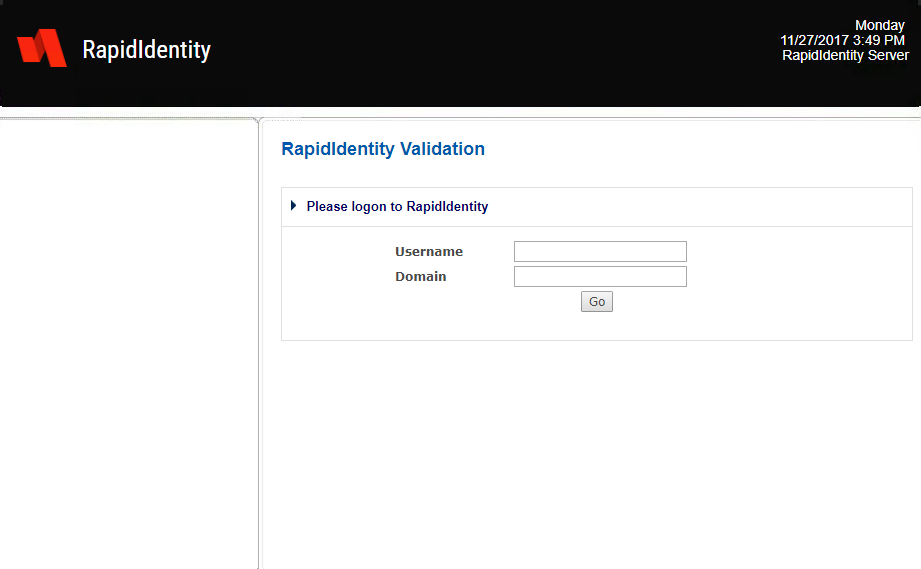
Leave the Domain field blank. Click OK.
Enter the password chosen in Step 2 in the Password field and the click Validate.
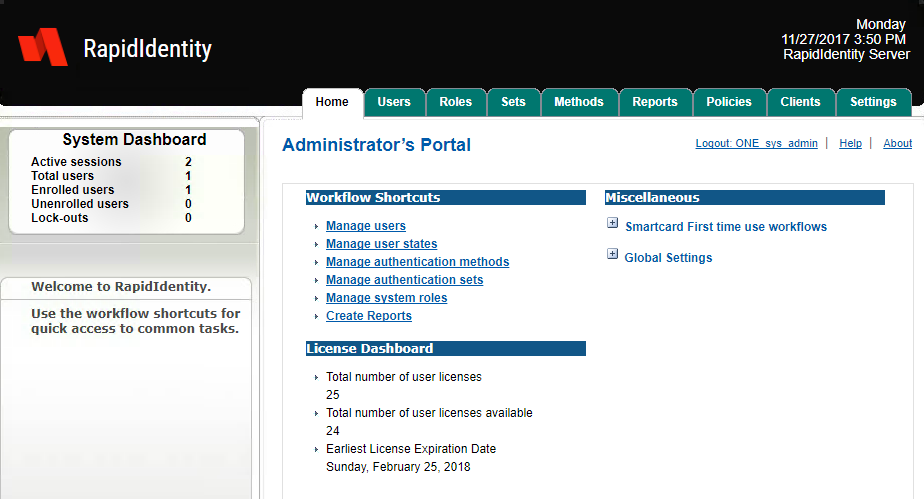
A successful authentication to RapidIdentity Server directs users to the Home screen.